Easy Homemade Vanilla Bean Paste Recipe (Ready in 10 Minutes!)
You know what drives me crazy? Spending $30 on a tiny jar of vanilla bean paste at the grocery store. I mean, seriously, thirty dollars for something I’ll use a teaspoon at a time? That’s just ridiculous, especially when you’re trying to feed a family without breaking the bank.
But here’s the thing: once you taste the difference real vanilla bean paste makes in your cookies and cakes, there’s no going back to the cheap stuff. Those gorgeous little black specks? They’re not just for show; they mean you’re using real, actual vanilla beans. And today I’m going to show you how to make your own at home for about $12.
This recipe takes maybe 10 minutes if you’re moving slow, uses just 3 ingredients, and honestly? It’s foolproof. I’ve taught my kids how to make it. If you can use a blender, you can do this.
Why We Started Making Our Own
So last year, my friend Jennifer brought over these sugar cookies for a birthday party. They were incredible, way better than anything I’d ever made. When I asked her what her secret was, she just smiled and said vanilla bean paste.
I went to the store the next day. Picked up a jar. Nearly fainted at the price. Put it back on the shelf and went home to figure out if I could make it myself.
Turns out? Yes. Absolutely yes. And it’s shockingly easy.
Nicolas and I tested this recipe probably fifteen times before we got it exactly right. See, we don’t use any spirits or anything like that in our cooking, so we had to figure out an alternative that would work just as well. Vegetable glycerin ended up being our solution; it’s this thick, sweet liquid you can get at any health food store or online, and it works perfectly for extracting all that vanilla flavor.
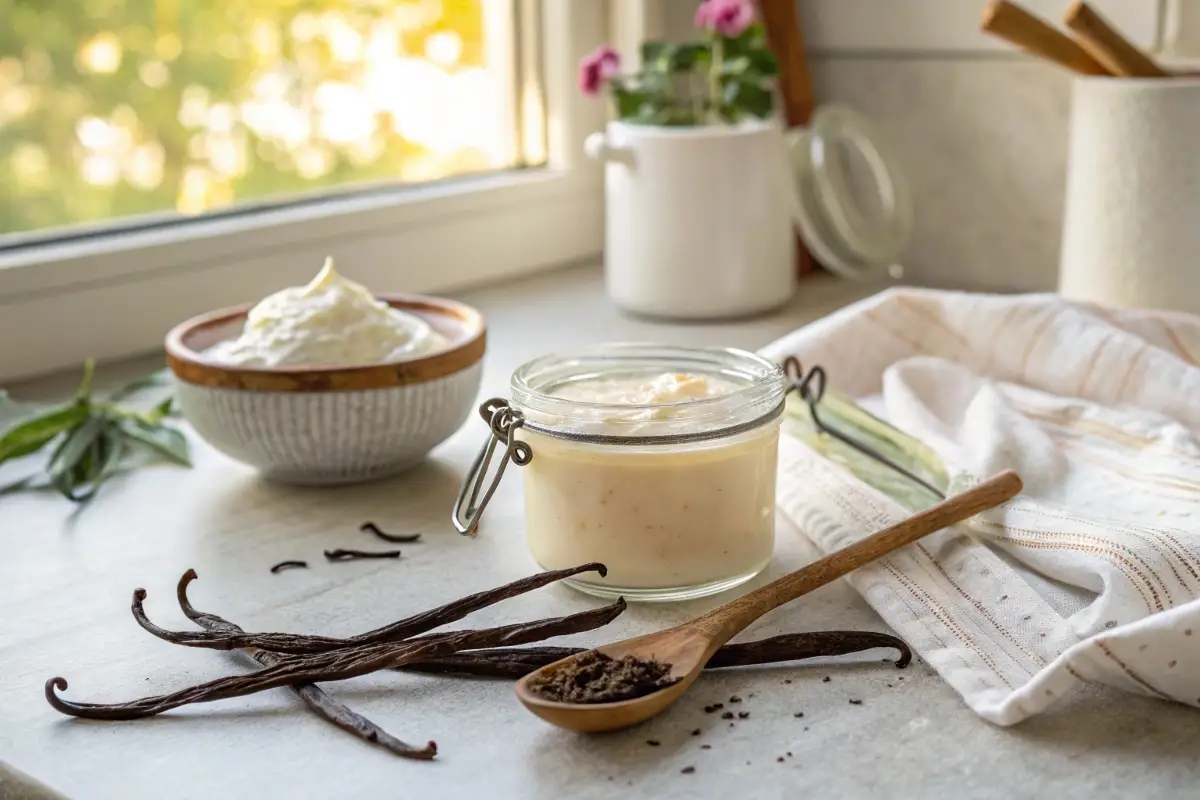
What Even Is Vanilla Bean Paste?
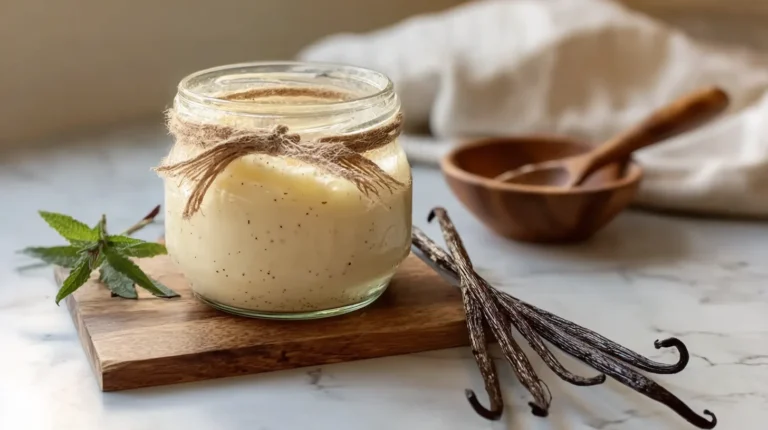
Okay, so vanilla bean paste is basically vanilla extract’s fancier cousin. It’s thick and syrupy instead of watery, and it’s got all these tiny black seeds from the vanilla beans mixed right in. That’s what gives your frosting or ice cream those professional-looking specks.
The flavor is way more intense than regular extract too. Like, noticeably stronger. When you use the whole vanilla bean seeds and pod, you get all these flavor compounds that just don’t make it into regular extract. It makes everything taste richer and smell amazing.
Paste vs. Extract: What’s the Actual Difference?
Here’s the quick comparison, because people ask me this all the time:
Vanilla bean paste is thick like syrup, dark colored, and full of visible seeds. The flavor is super concentrated, and it looks gorgeous in light-colored things like buttercream or whipped cream.
Vanilla extract is thin and liquid, usually clear or amber colored. It’s got good flavor, but there’s nothing visual going on. It’s perfect for baked goods where you won’t see it anyway.
The cool part? You can swap them one-for-one in recipes. One teaspoon of paste equals one teaspoon of extract. Easy.
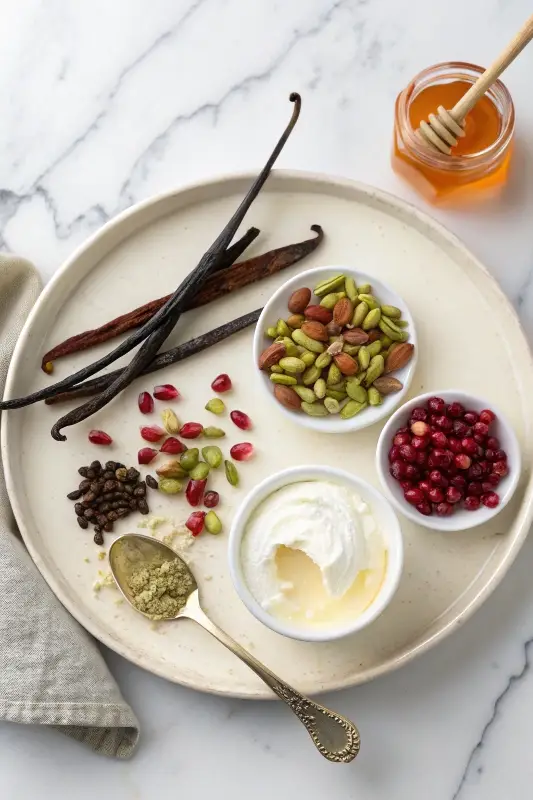
What You Actually Need
The Three Ingredients
Vanilla Beans – 3 or 4 of them
This is the only expensive part, but it’s still way cheaper than buying paste. You want Grade B beans, which some places call extract grade. They’re a little drier than Grade A beans, and they cost less, usually around $8-12 per ounce instead of $15-20.
Don’t let that Grade B label fool you. These beans are perfect for what we’re doing. They’ve got concentrated flavor, which is exactly what you want.
I buy mine from Costco when they have them, or online. Amazon usually has good deals if you buy a small pack. Get Madagascar beans if you want that classic vanilla flavor everyone knows. Tahitian beans are more floral and fruity if you’re feeling adventurous.
Vegetable Glycerin – 1/4 cup
This is our liquid base since we don’t cook with spirits. Glycerin is sweet-tasting and totally safe, and you can find it at any health food store or pharmacy. Sometimes it’s in the first aid section, sometimes with baking supplies.
You could also do a mix of water and corn syrup if you can’t find glycerin, like 2 tablespoons of each. That works too, though it won’t last quite as long.
Sugar – 2 to 4 tablespoons
Regular white sugar is perfect. This does two things: it balances out any bitterness from the vanilla, and it makes the paste thick and syrupy. You could use corn syrup, honey, or maple syrup instead if that’s what you’ve got in your pantry.
Can you skip it? Sure, but your paste will be thinner and not as sweet.
Tools You’ll Need
Nothing fancy required:
- A decent blender (doesn’t have to be expensive; mine is just a regular Ninja)
- Sharp knife and cutting board
- A small jar with a lid (those 4-ounce mason jars are perfect)
- Measuring spoons
- Regular spoon for scraping
Don’t have a blender at all? You can still make this. Just chop everything really fine with a knife and let it sit in the jar for about two weeks, giving it a shake every day. It won’t be quite as smooth, but it’ll taste just as good.
How to Make It (The Easy Way)
Step 1: Deal with the vanilla beans
Put your vanilla beans on a cutting board. Take a sharp knife and carefully slice each one down the middle lengthwise. When you open it up, you’ll see thousands of these tiny black seeds inside; that’s the good stuff.
Use the back of your knife (the dull side) to scrape all those seeds out. They’ll be kind of sticky and clumpy; that’s normal. Collect them in a small bowl.
Now here’s the important part: don’t throw away those empty pods! They’ve got tons of flavor still in them. Just chop them up into chunks about an inch long. Kitchen scissors work great for this.
Quick tip my mom taught me: if your beans are really dry and difficult to cut, warm them up in your hands for a minute first. Makes them way easier to work with.
Step 2: Throw everything in the blender
Add your chopped-up pods, all those seeds, the 1/4 cup of vegetable glycerin, and 3 tablespoons of sugar into your blender. Put the lid on tight.
Step 3: Blend it up
Start on low speed, then crank it up to high. Let it go for about a minute to a minute and a half. You’ll know it’s ready when it looks thick and really dark and has all these little specks throughout.
You might need to stop halfway and scrape down the sides with a spatula. That’s totally fine I usually have to do that too.
Step 4: Decide if you want it smooth or not
This is up to you. If you want it super smooth like the store-bought stuff, pour it through a fine mesh strainer. Personally? I skip this. I like seeing those little vanilla pod pieces; they look rustic and authentic. Either way is beneficial.
Step 5: Put it in a jar
Pour your paste into a clean glass jar. Screw the lid on tight. Grab a piece of tape or a label and write the date on it.
Store it in your pantry somewhere cool and dark, or stick it in the fridge if you prefer. With the glycerin, it’ll keep for at least 4-6 months, maybe longer if it’s refrigerated.
My Best Tips After Making This a Million Times
If your paste is too thin:
Add another tablespoon of sugar and blend it again for 30 seconds. Also, give it a day or two; it naturally thickens as it sits.
If it’s too thick:
Add glycerin one teaspoon at a time and blend until you like the consistency.
When it looks weird and separated:
Don’t panic. This is normal! The vanilla seeds just sink to the bottom. Shake it really well before you use it, and you’re good.
Make it taste even better:
Let your paste sit for at least a week before using it in uncooked stuff like frosting. The flavors need time to really come together. I’ve noticed it tastes way better after two weeks than it does fresh.
Don’t waste those pods:
After you make your paste, those scraped pods still have flavor. Rinse them off, let them dry, and stick them in a jar of sugar. Boom, vanilla sugar for your coffee. You’re welcome.
Storage tips:
Always use glass jars, never plastic. Vanilla can get weird with plastic over time. Keep it away from your stove and out of direct sunlight. A little separation is normal. A lot of separation means you might need more sugar to hold everything together.
Different Versions to Try for Vanilla Bean Paste
Once you’ve made the basic version a few times, here are some fun variations:
Extra strong version: Use 6 beans instead of 3-4. This is what I make for special occasion cakes.
Maple vanilla: Swap the regular sugar for pure maple syrup. It’s incredible in fall baking.
Tahitian vanilla: Use Tahitian beans instead of Madagascar. More floral, really different flavor. Great in custards.
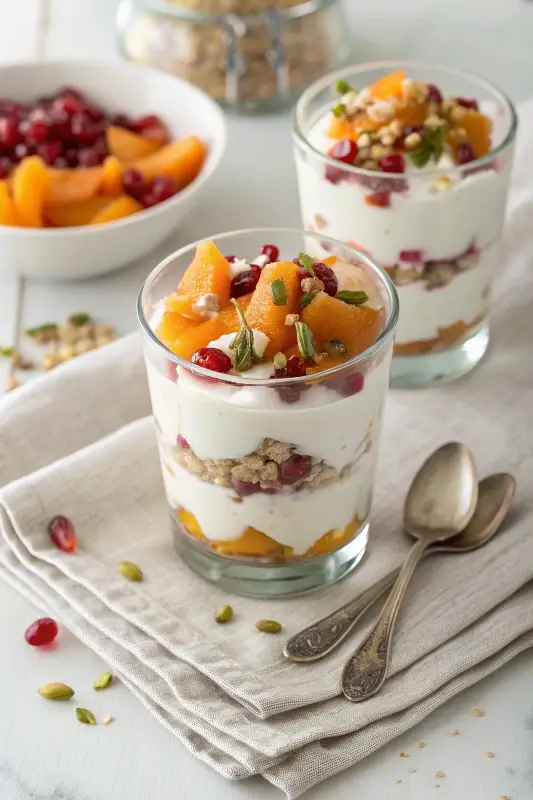
What I Actually Use This Product For
Now that you’ve made it, here’s what we use it for constantly:
Buttercream frosting—Add 1-2 teaspoons and watch your frosting go from homemade to bakery-level gorgeous. Those specks make all the difference.
Sugar cookies – Replace your vanilla extract with this paste (same amount). Trust me on this one.
Homemade ice cream—If you make ice cream, use about a tablespoon in your base. Game changer.
Whipped cream—Just half a teaspoon in fresh whipped cream makes it taste fancy. Great for topping pies.
French toast—Whisk a teaspoon into your egg mixture. Your Sunday brunch just got way better.
The conversion is simple: use the same amount of paste as you would extract. One teaspoon for one teaspoon. Can’t mess it up.
Questions People Always Ask Me
Why bother making it yourself?
Three reasons: it’s cheaper (like half the cost), you know exactly what’s in it, and it takes 10 minutes. Once you make it yourself, paying $30 for a jar feels absolutely insane.
How long does it actually last?
With glycerin, you’re looking at 4-6 months in the pantry, maybe 8-10 months in the fridge. The flavor gets better over the first few weeks. You’ll know it’s still good if it smells amazing and there’s no mold (which is super rare anyway).
Can I use it exactly like regular extract?
specks, yep. One-for-one swap. One teaspoon of paste equals one teaspoon of extract. It works especially well when you want those pretty specks, like in white frosting or vanilla ice cream or sugar cookies.
What kind of beans should I buy?
Like Madagascar beans for sure if you’re just starting out. They taste like what you think vanilla should taste like: sweet and classic. Get Grade B beans because they’re cheaper and better for paste-making. Costco has good deals, or Amazon if you buy a small pack.
Why isn’t my paste as thick as store-bought?
Store brands add thickening agents like xanthan gum. Yours will thicken naturally as it sits, especially in the fridge. If you really want it thicker, you can add a tiny pinch of xanthan gum when you blend it, but honestly I’ve never bothered.
Can my kids help?
Absolutely! My kids love making this. They can measure everything, scrape out the vanilla seeds (with help), and shake the finished jar. Just supervise the blending part and definitely the knife work.
Why does it look separated?
Because you used real vanilla beans! The seeds and tiny pod pieces sink to the bottom. This is actually a good sign. Just shake it up before you use it. If there’s a bunch of clear liquid on top, add a bit more sugar next time.
Can I give this as a gift?
Yes, and people love it. Pour it into little bottles, add a pretty label with the date and ingredients (for allergies), and tie it with some twine. Maybe include a small recipe card. It’s a really thoughtful gift that costs you way less than it would cost them to buy.
Okay, go make some.
Listen, I know trying new DIY kitchen projects can feel intimidating. But this one is honestly so easy, and you’ll feel like such a rockstar when you pull out your homemade vanilla bean paste and use it in your next batch of cookies.
Set aside 10 minutes this weekend. Get your vanilla beans ordered if you don’t have them already. Make a batch. Try it in something simple first, maybe sugar cookies or buttercream frosting, and you’ll immediately see and taste the difference.
Nicolas and I use this stuff constantly now. People always ask what makes our desserts taste so delicious, and honestly? It’s this paste. Real vanilla just hits different.
Let me know how it goes! What are you planning to make with yours first? Drop a comment below. I read every single one, and I’d love to hear what you’re baking.
Happy baking,
Nora (with input from Nicolas, who insists his blending technique is superior)
Save this for later!
Send it to your baking friends!
P.S. If you’re looking for more ways to level up your baking, check out our post on making vanilla sugar and our collection of beginner-friendly cookie recipes that really show off good vanilla flavor.
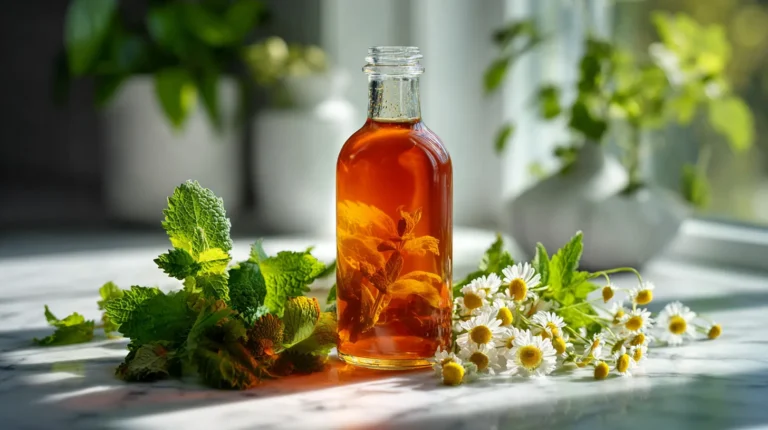
Vanilla Bean Paste

Learn how to make your own vanilla bean paste at home with just three ingredients, for a fraction of the cost of store-bought versions.
Main Ingredients
- 3-4 pieces Vanilla Beans (Use Grade B beans for better flavor and lower cost.)
- 1/4 cup Vegetable Glycerin (Sweet-tasting and used as the liquid base.)
- 2-4 tablespoons Sugar (Balances bitterness and thickens the paste; alternatives include corn syrup or honey.)
Preparation
- Slice each vanilla bean down the middle lengthwise to expose the seeds.
- Scrape out the seeds using the back of a knife and collect them in a small bowl.
- Chop the empty pods into chunks about an inch long.
Blending
- Add the chopped vanilla pods, seeds, vegetable glycerin, and sugar into a blender.
- Blend starting on low speed and then increase to high for about 1 to 1.5 minutes until thick and dark with specks.
- Stop to scrape down the sides if necessary.
Finalizing
- Decide if you want a smooth paste or to keep some texture; straining will create a smoother product.
- Pour the paste into a clean glass jar and seal tightly.
- Label the jar with the date and store it in a cool, dark place or refrigerate for longer shelf life.
The vanilla bean paste lasts 4-6 months at room temperature, longer if refrigerated. Remember to shake before using as separation can occur.
Related Recipes
Vanilla Bean Paste
Ingredients
Main Ingredients
- 3-4 pieces Vanilla Beans (Use Grade B beans for better flavor and lower cost.)
- 1/4 cup Vegetable Glycerin (Sweet-tasting and used as the liquid base.)
- 2-4 tablespoons Sugar (Balances bitterness and thickens the paste; alternatives include corn syrup or honey.)
Instructions
Preparation
- Slice each vanilla bean down the middle lengthwise to expose the seeds.
- Scrape out the seeds using the back of a knife and collect them in a small bowl.
- Chop the empty pods into chunks about an inch long.
Blending
- Add the chopped vanilla pods, seeds, vegetable glycerin, and sugar into a blender.
- Blend starting on low speed and then increase to high for about 1 to 1.5 minutes until thick and dark with specks.
- Stop to scrape down the sides if necessary.
Finalizing
- Decide if you want a smooth paste or to keep some texture; straining will create a smoother product.
- Pour the paste into a clean glass jar and seal tightly.
- Label the jar with the date and store it in a cool, dark place or refrigerate for longer shelf life.
Notes
The vanilla bean paste lasts 4-6 months at room temperature, longer if refrigerated. Remember to shake before using as separation can occur.