Turkish Bulgur Pilaf Recipe: The Fluffy, Golden Pilavı You’ll Make Again and Again
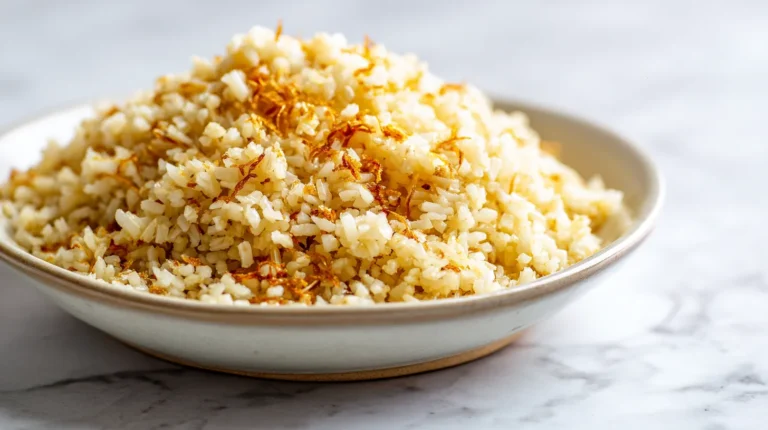
Turkish bulgur pilaf (bulgur pilavı) toasts coarse bulgur with onion and tomato paste, then simmers it in seasoned broth until each grain is fluffy and separate. The trick is the toasting step and a five-minute rest off the heat. It pairs with grilled meats and vegetables and is ready in about 25 minutes.
She toasted thin vermicelli pasta until it turned golden brown and smelled like toasted nuts. Then she mixed it with bulgur, added hot broth, and here’s the part that seemed crazy—she placed a clean kitchen towel under the pot lid while it cooked. When she finally lifted that lid, I understood why. The pilaf was the fluffiest thing I’d ever seen, with every grain perfectly separated. And at the bottom? A golden, crispy layer she called “kazandibi”—the cook’s reward.
That night changed how I cook grains forever. Turkish bulgur pilaf isn’t complicated, but there’s definitely a right way to do it. Once you learn the technique, you’ll wonder why you ever made it any other way.
Cooked bulgur provides about 3.1 g of protein and 4.5 g of fiber per 100 g per USDA FoodData Central, making it a whole-grain swap with roughly double the fiber of cooked white rice.
The Harvard Nutrition Source notes that whole grains like bulgur are linked to lower risk of cardiovascular disease, type 2 diabetes, and certain cancers.
Why Turkish Pilaf Is Different From Regular Cooked Bulgur
Here’s what most people don’t know: In Turkey, pilaf isn’t just cooked grain. It’s a whole technique that’s been passed down through families for generations. The difference between okay pilaf and amazing pilaf comes down to three things.
First, you toast the grain before adding liquid. This isn’t optional—it’s what creates that nutty, complex flavor. Second, you use the towel technique (more on this in a minute), which prevents moisture from dripping back onto the grains. Third, you never, ever stir after adding the liquid. Not even once.
These might sound like small details, but they’re what separate a pot of mushy, sticky grains from restaurant-quality pilaf that makes people ask for your recipe.
The Vermicelli Secret in Turkish Bulgur Pilaf
Walk into any Turkish home during dinner, and you’ll probably smell pilaf cooking. The distinctive aroma comes from the thin pasta—usually vermicelli or tiny orzo—that gets toasted with the bulgur.
I’ll be honest, the first time Ayşe told me to add pasta to my grain dish, I thought she was joking. But here’s why it works: The pasta toasts faster than the bulgur, developing these deep caramelized flavors. As everything cooks together, those flavors spread throughout the whole dish. Plus, the different textures—tender bulgur and slightly firmer pasta—make every bite more intriguing.
The toasting step only takes about two minutes, but you need to watch it like a hawk. Vermicelli goes from perfect to burnt in about ten seconds once it starts browning. Stay at the stove, keep stirring, and trust your nose. When your kitchen smells like toasted nuts, you’re there.
The Towel Technique for Turkish Bulgur Pilaf
This is the part that makes people think you’re fancy, but honestly, it’s so simple. After the bulgur has absorbed all the liquid, you place a clean kitchen towel over the pot opening, then put the lid back on top.
What’s happening? The towel absorbs steam and moisture that would otherwise condense on the lid and drip back down, making the pilaf soggy. Meanwhile, the residual heat continues cooking the grains gently and evenly. It’s like the difference between steaming vegetables with the lid tilted versus completely covered—one method lets moisture escape, the other traps it.
I was skeptical when I first saw this. It seemed old-fashioned and fussy. But after seeing those perfectly fluffy results, I started using this method for everything—rice, quinoa, even couscous. It works.
How to Make Turkish Bulgur Pilaf (The Real Way)
What You Need
| Ingredient | Amount | Notes |
|---|---|---|
| Medium bulgur wheat | 1½ cups | #2 grind works best |
| Thin vermicelli or orzo | ½ cup | Break into small pieces |
| Butter | 3 tablespoons | Or use olive oil |
| Hot broth | 2¾ cups | Chicken or vegetable |
| Salt | 1 teaspoon | Adjust to taste |
| Black pepper | ½ teaspoon | Freshly ground |
| Kitchen towel | 1 | Clean and dry |
Liquid Ratio Tip: You want about 1.75 to 2 cups of liquid per cup of bulgur. We’re using a bit less here because the vermicelli also absorbs liquid. If you like softer pilaf, add an extra ¼ cup of broth. For firmer grains, stick with this ratio exactly.
Step-by-Step Instructions (Every Detail Matters)
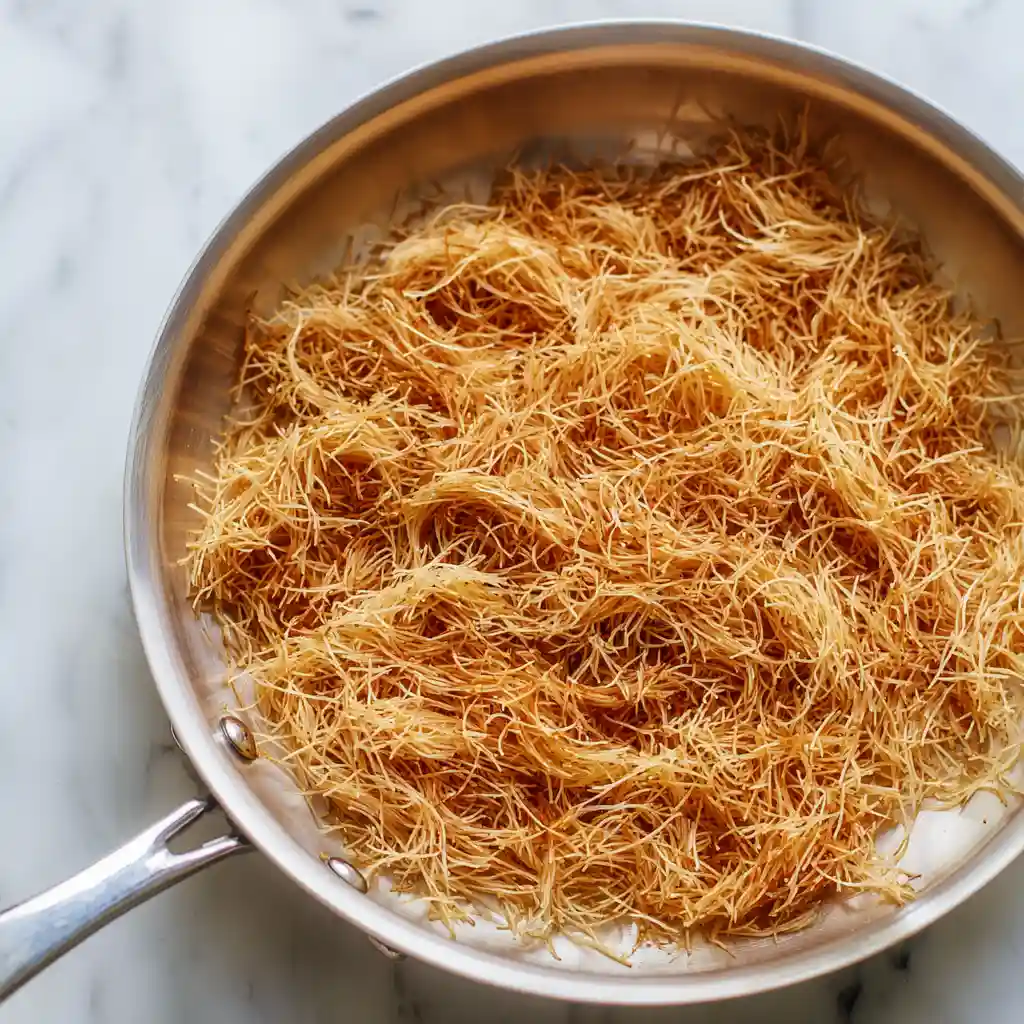
Step 1: Toast the Vermicelli for Turkish Bulgur Pilaf (2–3 minutes)
Set a medium pot over medium heat. Add the butter and let it melt completely—the foam should subside and the butter should be hot but not smoking.
Add all your broken vermicelli pieces. From this moment, you’re committed to stirring constantly. No checking your phone, no stepping away. Just stir.
The vermicelli will gradually shift from pale cream to light tan to rich golden brown. The whole process takes 2-3 minutes. Watch extra carefully in the final minute because once it really starts browning, it can burn in 10 seconds flat.
Watch Carefully: You want it evenly golden brown throughout. Your kitchen should smell like toasted nuts – that’s your signal it’s perfect.
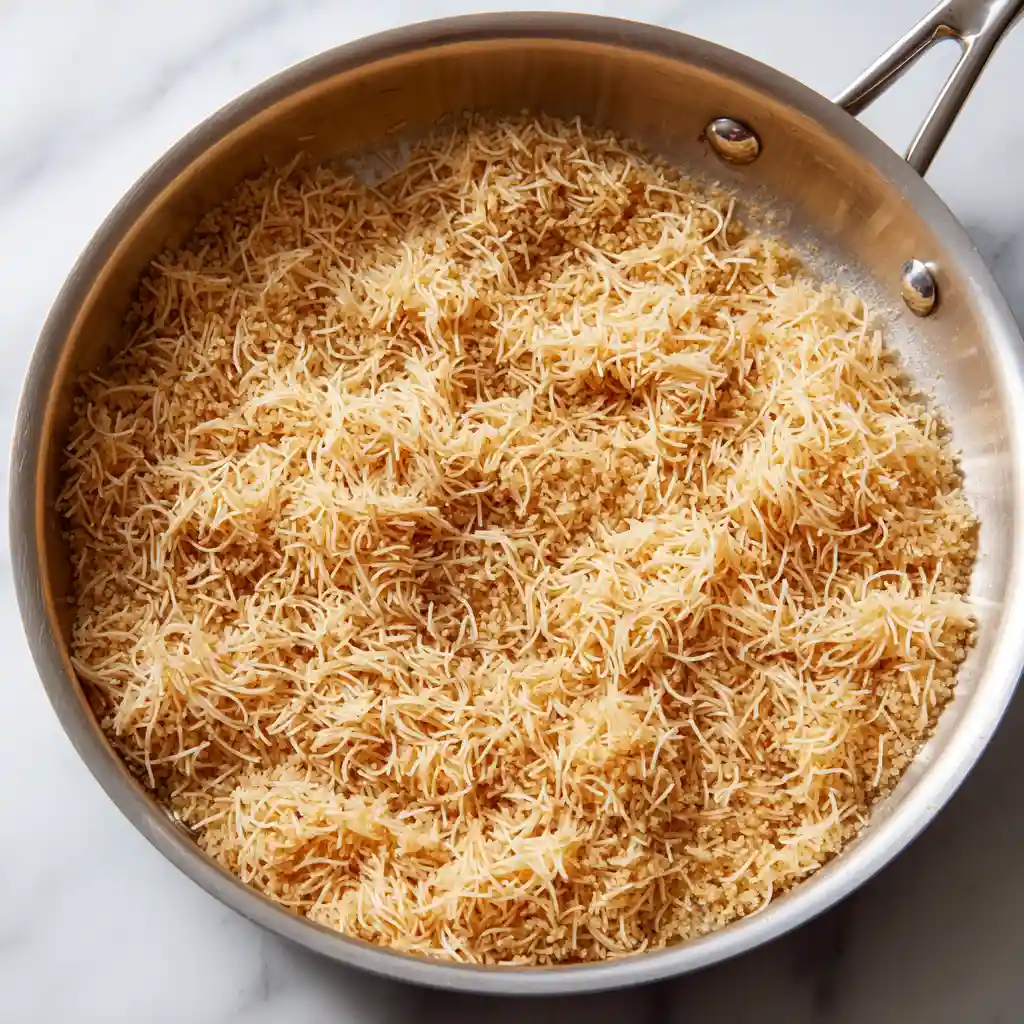
Step 2: Add Bulgur and Toast Together for Turkish Bulgur Pilaf (1 minute)
The instant your vermicelli hits that perfect golden color, immediately dump in all the bulgur. Stir vigorously to coat every grain with butter and distribute the toasted vermicelli evenly.
Keep stirring for about 1 minute while the bulgur toasts lightly. It’ll start smelling nutty and toasted too. You’re building flavor layers here—this step is what separates ordinary pilaf from extraordinary.
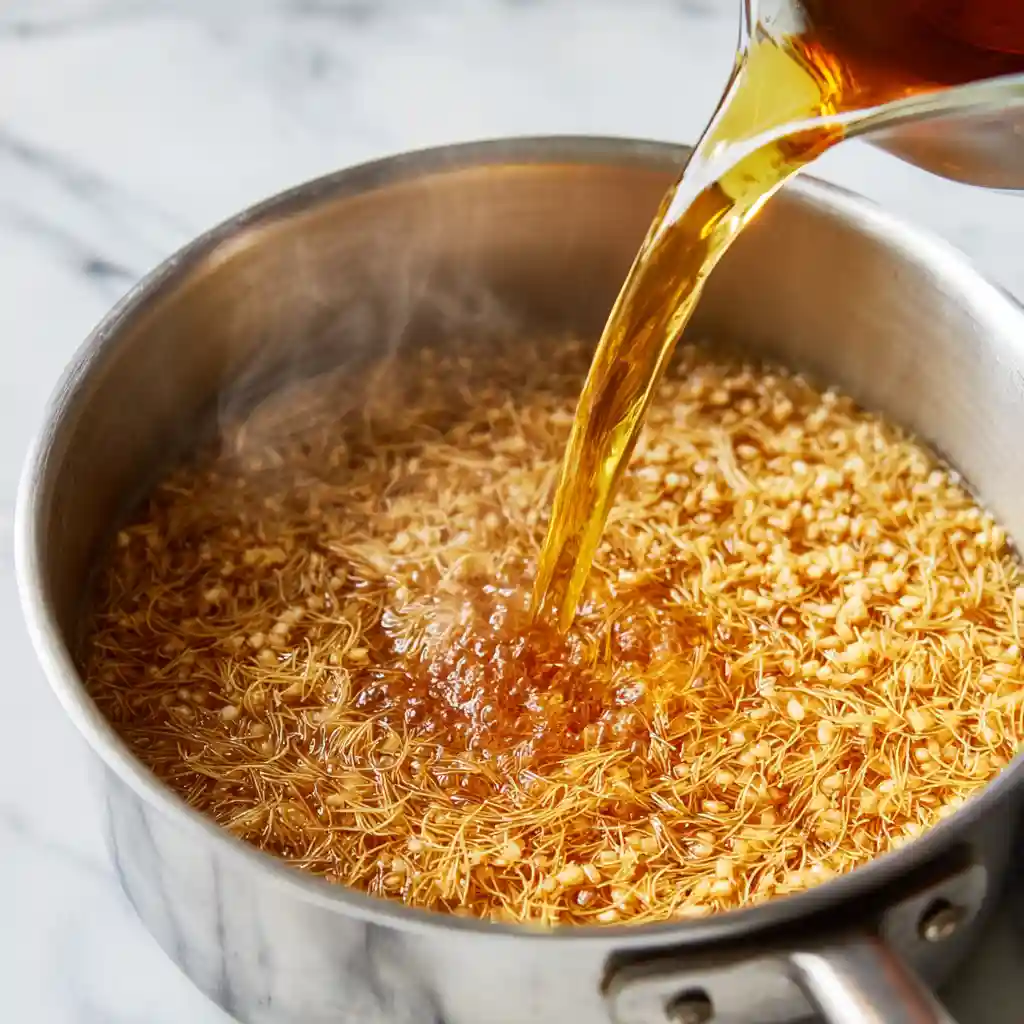
Step 3: Add Hot Broth to Turkish Bulgur Pilaf (Stand Back!)
Pour in all the hot broth at once. It’ll hit that hot pan and create a massive sizzle with steam billowing up—this is normal and means everything was properly hot.
Add your salt and black pepper. Give everything one thorough stir to distribute the seasonings evenly.
This is critically important: This is the LAST time you stir. Put that spoon down. From here on, stirring will break the grains and create a sticky, mushy texture. Just leave it alone.
Why hot broth? Cold broth would drop the temperature dramatically, making everything take longer to boil and cook unevenly. I heat mine in the microwave for 2 minutes right before using it.
Step 4: Bring to Rolling Boil (2-3 minutes)
Crank the heat to high. Bring everything to a vigorous, rolling boil with big bubbles breaking across the entire surface. Keep the lid off during this step so you can monitor it. This takes 2-3 minutes.

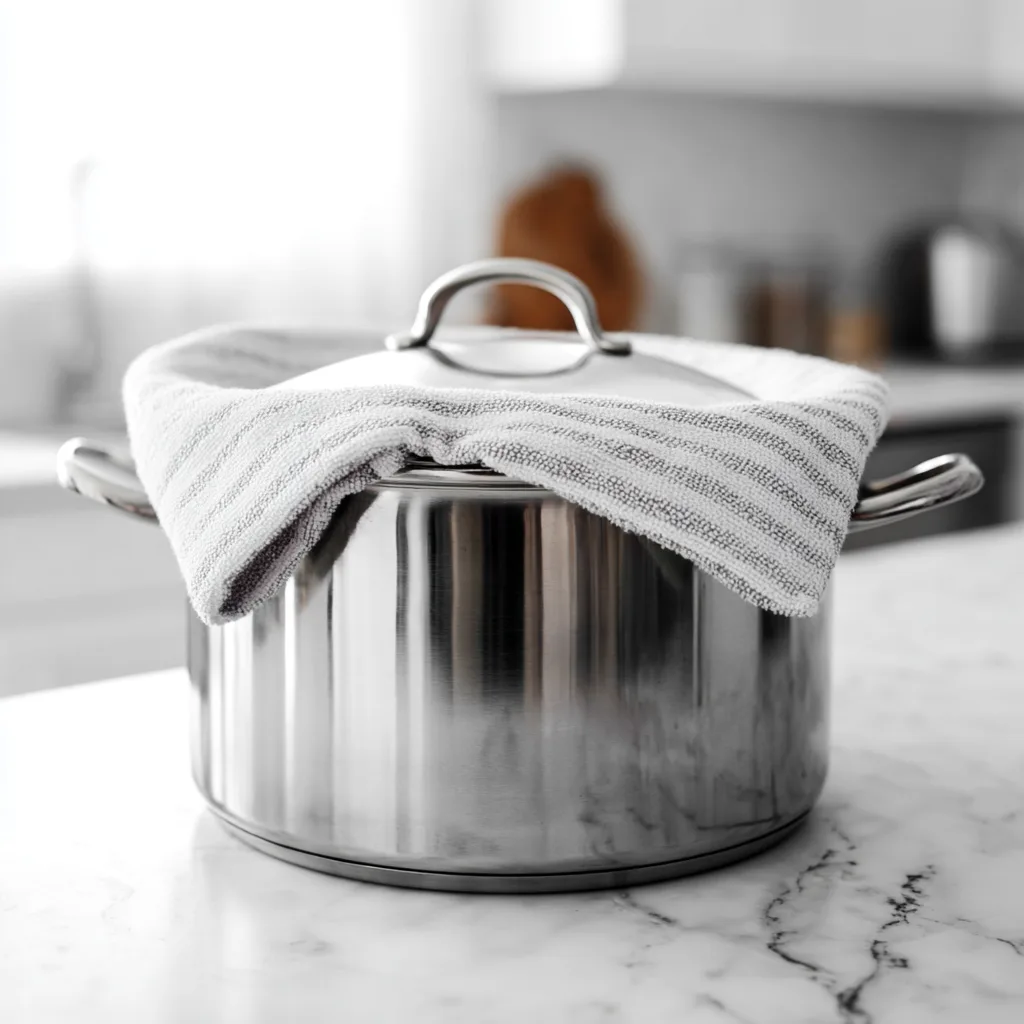
Step 5: Steam Turkish Bulgur Pilaf with the Towel (15 minutes)
The second it reaches a full rolling boil, immediately reduce heat to the absolute lowest setting. On electric stoves, that’s setting 1. On gas, the smallest possible flame.
Take your clean, completely dry kitchen towel. Lay it over the pot opening, covering it completely. Place the lid firmly on top of the towel. The towel is now sandwiched between the pot and the lid.
Make absolutely certain all towel edges hang outside the pot, well away from any heat source. On gas stoves, be extra vigilant about keeping the towel away from flames. I fold the edges up over the lid for safety.
Set a timer for exactly 15 minutes. Now the hard part: Don’t peek. Don’t lift the lid. Don’t stir. Don’t touch it except to verify the heat hasn’t gone out. Just let it work.
Safety First: Make absolutely certain all towel edges hang outside the pot, well away from any heat source. The towel must be completely dry.
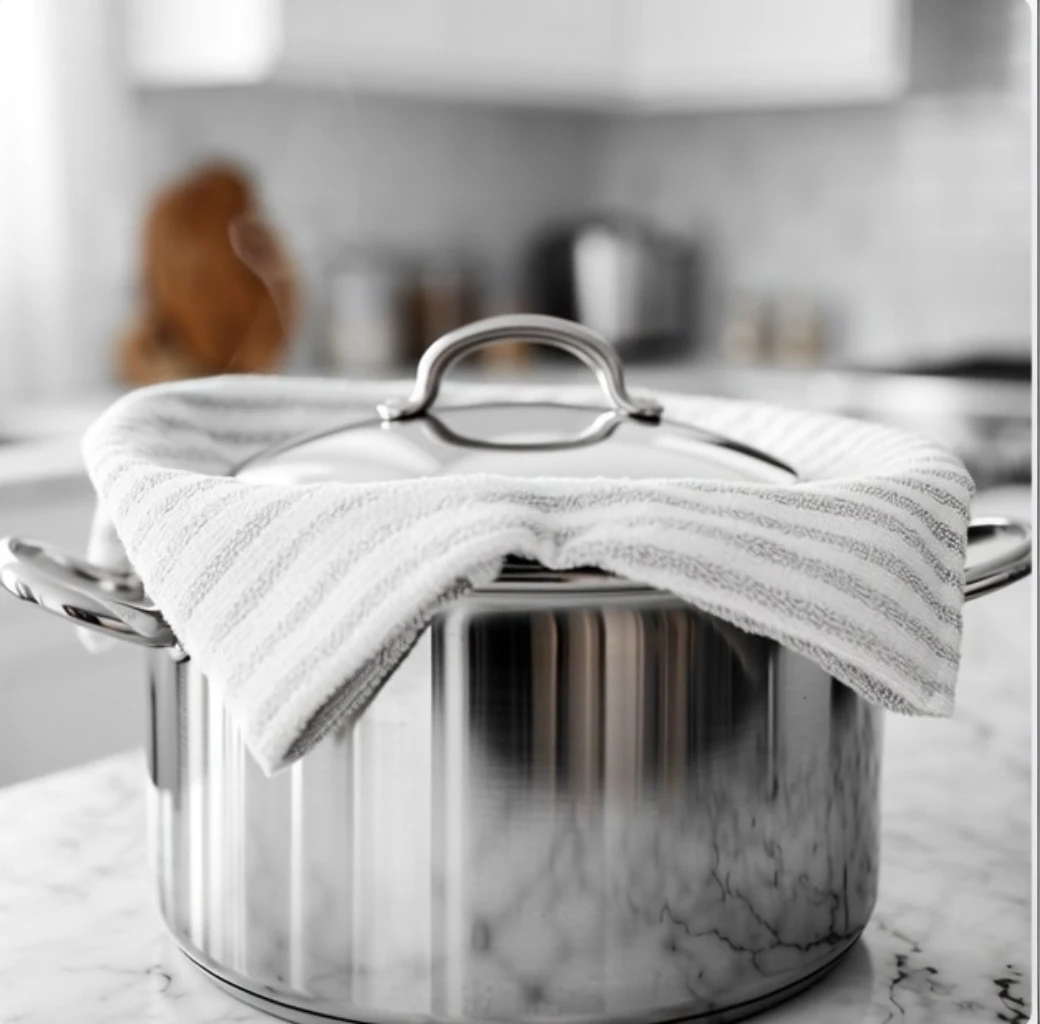
Step 6: Rest Off Heat (10 minutes)
When your timer beeps, turn off the heat completely. Do NOT remove the lid yet. Leave everything exactly as it is—pot on the burner, towel and lid in place.
Let it rest undisturbed for a full 10 minutes. This resting period is when the grains firm up and achieve that perfect texture. The towel continues absorbing moisture during this time.
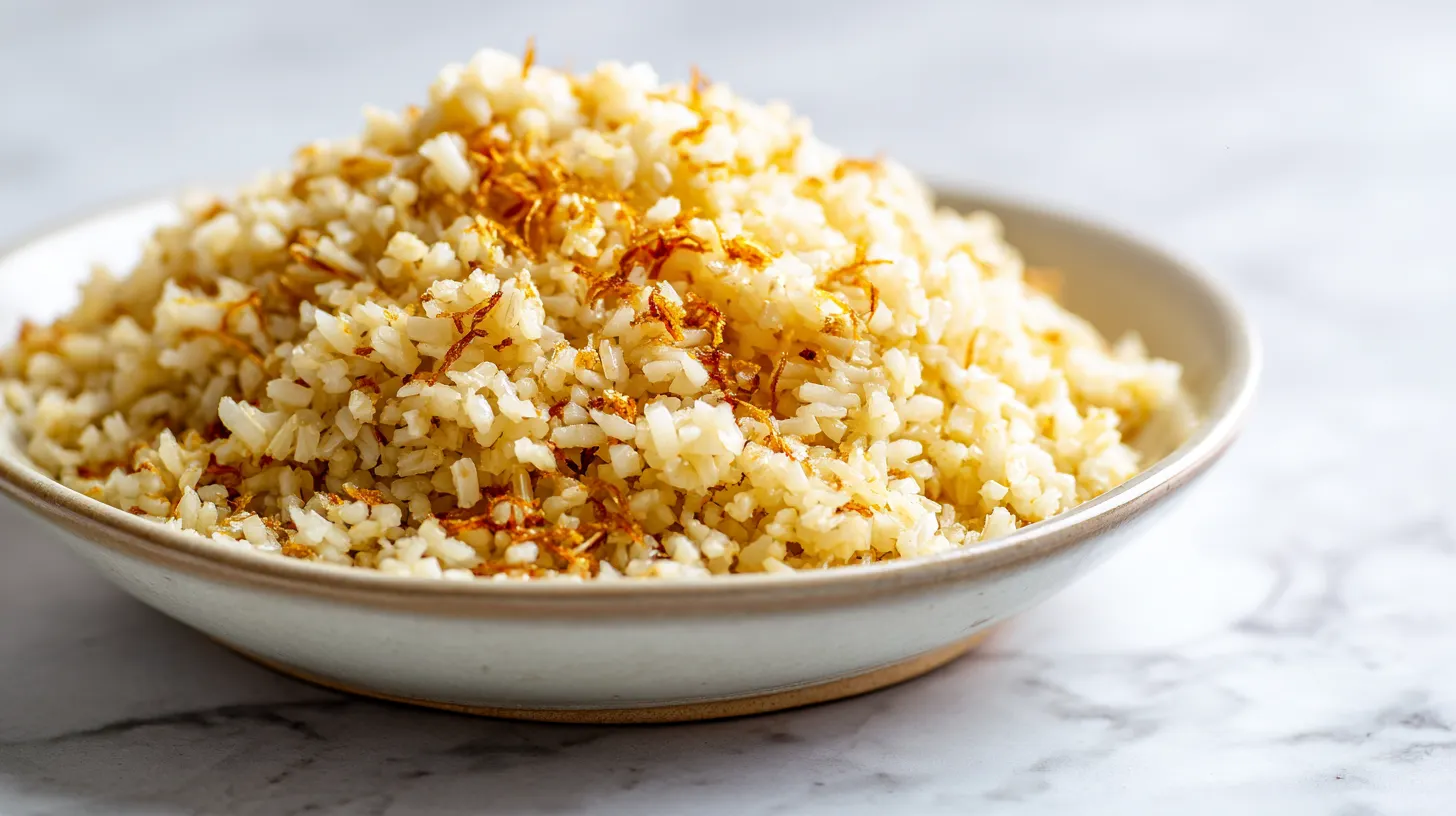
Step 7: Fluff and Reveal the Prize
After the full 10-minute rest, carefully remove the lid and towel. Be ready—hot steam will escape when you first lift it.
Use a fork (never a spoon, which mashes grains) to gently fluff the Turkish bulgur pilaf. Work from the edges toward the center with a lifting and turning motion. The grains should separate effortlessly and look light and airy.
Now check the bottom of your pot. See that golden, slightly crispy layer? That’s “”kazandibi”—traditionally the cook’s reward in Turkish homes. Ayşe told me her mother always claimed this prized layer, and now I understand why. It’s incredible.
Want extra-crispy kazandibi? After resting, remove the towel, put the lid back on, and return to medium heat for 2–3 minutes. You’ll hear gentle sizzling as the bottom crisps up beautifully. Use your nose – it should smell toasted and wonderful, never burnt.
")
Ways to Change It Up
Once you’ve nailed the basic technique, Turkish pilaf becomes a canvas for whatever you’re in the mood for.
| Variation | What to Add | When to Add It |
|---|---|---|
| Chickpea Pilaf | 1 can drained chickpeas | After toasting bulgur, before adding broth |
| Tomato Pilaf | 2 tbsp tomato paste | After toasting bulgur, cook 30 seconds |
| Herb Pilaf | ⅓ cup fresh dill or parsley | Fold in when fluffing at the end |
| Spiced Pilaf | ¼ tsp cumin, pinch cinnamon | Add with salt and pepper |
| Festive Pilaf | Pine nuts + golden raisins | Toast nuts with vermicelli, fold raisins at end |
What to Serve with Turkish Pilaf
In Turkey, pilaf isn’t an afterthought. It’s treated with as much care as the main dish.
The classic pairing is grilled meat—köfte (meatballs), kebabs, grilled chicken, and lamb chops. The fluffy pilaf soaks up all those delicious meat juices. Any stew or braised dish gets served over a bed of pilaf too. The grains catch all that flavorful sauce.
Turkish meals always include thick yogurt on the side. The cool, tangy yogurt against the warm, buttery pilaf is perfect. Add a fresh salad—maybe shepherd’s salad with diced tomatoes, cucumbers, and peppers—and some tangy pickles, and you’ve got a complete Turkish meal.
These days, I also use it as a base for grain bowls. Top it with roasted vegetables, grilled chicken or fish, fresh herbs, and tahini sauce. For breakfast, leftover pilaf with a fried egg on top is traditional in Turkey and honestly delicious—the runny yolk becomes an instant sauce.
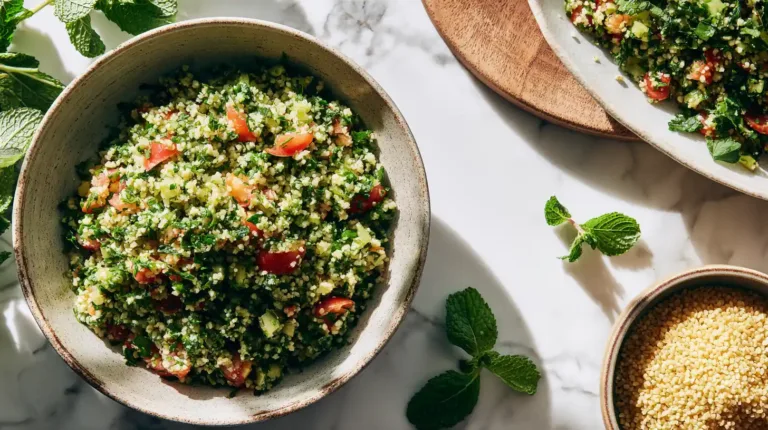
You can even turn cooled pilaf into a cold salad by tossing it with diced vegetables, herbs, lemon juice, and olive oil. It’s like a heartier version of tabbouleh.
Storing and Using Leftovers
Turkish pilaf keeps beautifully, which makes it perfect for meal prep.
| Room Temperature | Don’t leave out more than 2 hours |
|---|---|
| Refrigerator | 5 days in airtight container (may look dry, easily fixed) |
| Freezer | Up to 3 months in individual portions |
How to Reheat Turkish Bulgur Pilaf Without Drying It Out
The stovetop method gives the best results. Add the pilaf to a pan with a splash of broth or water (about 2 tablespoons per 2 cups of pilaf). Cover and heat on low for 5 minutes, stirring occasionally.
For the microwave, put the pilaf in a bowl, sprinkle with 2 tablespoons of water, cover with a damp paper towel, and microwave for 1-2 minutes. Stir and heat in 30-second bursts until hot.
The oven method works for big batches. Spread in a baking dish, sprinkle with liquid, cover with foil, and bake at 350°F for 15 minutes.
My Favorite Trick: Turkish fried pilaf (pilav kızartması). Heat butter in a skillet, add cold pilaf, spread it out, and let it cook undisturbed for 3–4 minutes until the bottom gets crispy. Stir, let it crisp again. You end up with crispy, nutty bits throughout. Some people think this tastes even better than fresh pilaf!
Questions People Always Ask
Can I skip the vermicelli?
You can, but you’ll lose what makes Turkish pilaf Turkish. The pasta adds significant flavor and texture. If you must skip it, use 1¾ cups bulgur instead of 1½ cups, and keep the liquid the same. Just know it won’t taste quite right.
Why did mine turn out mushy?
Three common culprits: too much liquid (measure carefully!), stirring after adding the broth (never do this!), or heat too high during simmering (should be the absolute lowest setting). The towel technique also prevents mushiness, so don’t skip it.
What about using a rice cooker or Instant Pot?
Sure! For Instant Pot: Toast vermicelli on sauté mode, add bulgur briefly, add broth, pressure cook on high for 3 minutes, and natural release for 10 minutes. For rice cooker: Toast vermicelli separately in a pan, transfer everything to the cooker with bulgur and hot broth, use the white rice setting, then let it rest on “keep warm” for 10 minutes.
Do I really need the towel?
Not absolutely, but the difference is dramatic. Without it: decent pilaf. With it: restaurant-quality fluffy perfection with every grain separated. Try it once and you’ll understand why Turkish cooks never skip this step. I now use it for all grains, not just bulgur.
Why This Works So Well
After making this pilaf probably fifty times since Ayşe showed me how, I’ve figured out what really matters.
The toasted vermicelli creates layers of nutty, caramelized flavor you can’t get any other way. Hot broth keeps the temperature high for even cooking. The towel prevents condensation from making things soggy while still allowing gentle steaming.
But honestly? The biggest thing is just following the technique and not overthinking it. Don’t stir after adding liquid. Keep the heat low during simmering. Let it rest before serving. That’s it.
Nicolas calls this “Tuesday Pilaf” because I first made it on a Tuesday, and now he requests it at least twice a week. It’s become his favorite side dish. Takes 30 minutes, pairs with everything, and uses pantry staples we always have.
And that crispy bottom? Ayşe was right—it really is the cook’s reward. We’ve had to institute a “whoever sets the table gets first dibs on kazandibi” rule in our house.
If you’re looking for more ways to use bulgur, check out our collection of Mediterranean grain recipes. We’ve got everything from fresh herb-heavy salads to hearty breakfast bowls. This Turkish pilaf is just one way to enjoy this versatile ancient grain, but it might end up being your favorite way.
Notes from Nora & Nicolas
Nora says: “That first time watching Ayşe place a towel under the lid, I thought she was being extra. Then I saw the results and felt like I’d been let in on some ancient secret. Now I use this technique for everything. It’s one of those things that seems like overkill until you try it, then you can’t imagine cooking grains any other way.”
Nicolas adds: “I grew up thinking pilaf was just fancy rice. This Turkish version showed me what I’d been missing — actual flavor, actual texture, actual excitement about eating grains. That crispy bottom layer is no joke. We literally have arguments about who gets it. My advice? Make a double batch. You’ll thank me later.”
© My Recipes Made — Nora & Nicolas, The Dalim Family
For more family-tested recipes, visit myrecipesmade.com
Turkish Bulgur Pilaf

A fluffy, flavorful Turkish bulgur pilaf made with toasted vermicelli and cooked with a special towel technique for perfect texture.
Main Ingredients
- 1.5 cups Medium bulgur wheat (#2 grind works best)
- 0.5 cups Thin vermicelli or orzo (break into small pieces)
- 3 tablespoons Butter (or use olive oil)
- 2.75 cups Hot broth (chicken or vegetable)
- 1 teaspoon Salt (Adjust to taste)
- 0.5 teaspoon Black pepper (freshly ground)
- 1 piece Kitchen towel (clean and dry)
Toast the Vermicelli
- Set a medium pot over medium heat. Add the butter and let it melt completely. Stir continuously and toast the broken vermicelli pieces for about 2-3 minutes until golden brown.
Add Bulgur
- Add the bulgur immediately after the vermicelli is toasted and stir for 1 minute to coat every grain.
Add Broth
- Pour in the hot broth, add salt and black pepper, and make sure to stir once, then leave it alone from this point onward.
Bring to Boil
- Increase heat to high and bring everything to a vigorous, rolling boil for 2-3 minutes with the lid off.
Steam with Towel
- Once boiling, reduce the heat to the lowest setting, cover with the kitchen towel, and place the lid on top. Set a timer for 15 minutes, do not peek.
Rest Off Heat
- After 15 minutes, turn off the heat and let the pilaf rest for another 10 minutes without removing the lid.
Fluff and Serve
- Carefully remove the lid and towel, fluff the pilaf with a fork, and enjoy!
For extra crispy kazandibi, after resting, replace the lid and return to medium heat for 2-3 minutes.
Related Recipes
Turkish Bulgur Pilaf
Ingredients
Main Ingredients
- 1.5 cups Medium bulgur wheat (#2 grind works best)
- 0.5 cups Thin vermicelli or orzo (break into small pieces)
- 3 tablespoons Butter (or use olive oil)
- 2.75 cups Hot broth (chicken or vegetable)
- 1 teaspoon Salt (Adjust to taste)
- 0.5 teaspoon Black pepper (freshly ground)
- 1 piece Kitchen towel (clean and dry)
Instructions
Toast the Vermicelli
- Set a medium pot over medium heat. Add the butter and let it melt completely. Stir continuously and toast the broken vermicelli pieces for about 2-3 minutes until golden brown.
Add Bulgur
- Add the bulgur immediately after the vermicelli is toasted and stir for 1 minute to coat every grain.
Add Broth
- Pour in the hot broth, add salt and black pepper, and make sure to stir once, then leave it alone from this point onward.
Bring to Boil
- Increase heat to high and bring everything to a vigorous, rolling boil for 2-3 minutes with the lid off.
Steam with Towel
- Once boiling, reduce the heat to the lowest setting, cover with the kitchen towel, and place the lid on top. Set a timer for 15 minutes, do not peek.
Rest Off Heat
- After 15 minutes, turn off the heat and let the pilaf rest for another 10 minutes without removing the lid.
Fluff and Serve
- Carefully remove the lid and towel, fluff the pilaf with a fork, and enjoy!
Notes
For extra crispy kazandibi, after resting, replace the lid and return to medium heat for 2-3 minutes.