How to Tell If Crème Brûlée Is Done: A Complete Guide
I ruined my first crème brûlée by taking it out too early. The center was soup. On my second attempt, I left it in too long and got sweet scrambled eggs. The third time, I obsessively checked it every two minutes, which didn’t help because I still didn’t know what I was looking for. Turns out, there’s a specific technique—the jiggle test—that makes everything obvious once you understand it.
Crème brûlée is deceptively simple: cream, egg yolks, sugar, and vanilla. But getting that perfect custard texture—set but still creamy, not liquid or rubbery—requires knowing exactly when to pull it from the oven. Miss the window by five minutes either way and you’ve got problems. For more custard desserts, refer to our Crab Brûlée Recipe.
How to Tell If Crème Brûlée Is Done by Visual Cues
Properly cooked crème brûlée has a specific texture. The edges should be set and firm. The center should jiggle slightly when you gently shake the ramekin—like Jell-O, not water. That wobble is crucial. No wobble means overcooked. Too much wobble means undercooked.
The surface should look smooth and slightly glossy, not bubbly or cracked. Bubbles and cracks indicate overcooking—the proteins in the egg yolks tightened too much and squeezed out moisture. This same principle applies to other egg-based desserts like our Lemon Pound Cake Recipe, where proper baking temperature is key.
The Jiggle Test for Crème Brûlée
This is the most reliable way to check doneness without a thermometer. Here’s how it works:
- Gently shake the ramekin while it’s still in the oven (use oven mitts).
- Watch the center of the custard. It should move slightly—a small, contained jiggle.
- If the whole surface ripples like liquid, it needs more time.
- If nothing moves at all, you’ve overcooked it.
The jiggle should be concentrated in the center, roughly the size of a quarter. Edges stay firm. This phenomenon indicates the custard will finish setting as it cools. The same patience applies when making our Boston Cream Cake Recipe with its custard filling.
Using a Thermometer to Tell If Crème Brûlée Is Done
If you want precision, use an instant-read thermometer. Insert it into the center of the custard after baking.
- Target temperature: 170-175°F (77-79°C)
- Below 170°F: Custard is undercooked and won’t set properly
- Above 180°F: Custard is overcooked and will be grainy
The custard continues cooking slightly after you remove it from the oven, so pulling it at 170-175°F accounts for carryover cooking. This carryover principle is important in many desserts, including baked goods like our Almond Cookies Recipe, where residual heat affects the final texture.

How to Bake Crème Brûlée Properly
How to Tell If Crème Brûlée Is Done Using a Water Bath Method
Always bake crème brûlée in a water bath (bain-marie). This moderates the heat and prevents the custard from cooking too fast or unevenly.
- Place ramekins in a large baking dish.
- Pour boiling water into the dish until it reaches halfway up the sides of the ramekins.
- Bake at 300°F (150°C) for 30-45 minutes, depending on ramekin size.
Shallow ramekins cook faster. Deep ramekins take longer. Start checking at 30 minutes. The water bath technique is similar to how we carefully bake delicate desserts in our Desserts & Baking collection.
Correct Oven Temperature for Crème Brûlée
Low and slow is key. 300°F (150°C) is ideal. Higher temperatures cook the edges too fast while leaving the center raw. Lower temperatures take forever and can dry out the custard. Getting the oven temperature right matters just as much in recipes like our Best Rolled Sugar Cookies, where even baking is crucial.
Cooling and Setting Crème Brûlée
Crème brûlée isn’t fully done when you take it out of the oven. It needs time to cool and set properly to achieve that signature texture.
- Room temperature cooling: Let ramekins cool on the counter for 30 minutes. Sudden temperature changes can crack the custard.
- Refrigerate: Cover with plastic wrap and refrigerate for a minimum of 2 hours. Overnight is better—flavors develop and texture improves.
Don’t skip the cooling. Custard firms up significantly as it chills. What looks slightly underdone at room temperature will be perfect after refrigeration. This cooling process is just as important as the initial baking.
Common Problems When Making Crème Brûlée
Signs Your Crème Brûlée Is Undercooked
Signs: The center is liquid, doesn’t hold shape when scooped, and jiggles excessively across the entire surface rather than just the center.
Fix: Return to oven in water bath for 5-10 more minutes. Check with the jiggle test every few minutes. Be patient—rushing leads to more problems.
Signs Your Crème Brûlée Is Overcooked
Signs: Surface cracks, texture is grainy or rubbery, no jiggle at all, custard feels dense rather than creamy.
Fix: Can’t really fix overcooked custard. Salvage by focusing on presentation—perfect sugar topping, fresh berries, and mint leaves can distract from texture issues. Consider serving with whipped cream to add creaminess.
Watery Custard Problems
Cause: Not cooked long enough, or didn’t cool properly. Sometimes ingredients weren’t at the right temperature when mixed.
Fix: Re-bake if caught early. If already chilled, it’s too late—custard won’t set retroactively. Prevention is better than cure with custards.
Caramelizing the Sugar Topping on Crème Brûlée
The sugar crust is what makes crème brûlée special. That satisfying crack when your spoon breaks through is the reward for doing it right. Here’s how:
- Use granulated sugar. Sprinkle a thin, even layer over chilled custard. Pat off excess—too much creates bitter burnt spots.
- Torch method: Hold kitchen torch 2-3 inches from surface. Move in a circular motion until the sugar melts, bubbles, and turns golden brown.
- Broiler method: Place ramekins under broiler for 1-2 minutes. Watch constantly—sugar goes from perfect to burnt fast.
Let sugar harden for 1-2 minutes before serving. The crack when you tap it with a spoon is the best part. This caramelization technique works for other desserts too, like the topping on our Tropical Pistachio Bliss Cake.
Complete Timing Guide for Crème Brûlée
- Prep time: 15 minutes (mixing custard, preparing ramekins)
- Baking time: 30-45 minutes (depends on ramekin size and depth)
- Cooling: 30 minutes room temp + 2 hours refrigeration minimum
- Total: Plan for at least 3-4 hours start to finish
Make ahead: Bake custards up to 3 days in advance. Add sugar topping and torch just before serving for best results. The custard actually improves with time as flavors meld.
Expert Tips for Perfect Crème Brûlée
After making dozens of crème brûlées (and ruining several), here’s what actually matters:
- Room temperature ingredients: Cold eggs straight from the fridge don’t mix smoothly. Let them sit out 30 minutes.
- Strain the custard: Pour through a fine-mesh strainer before filling ramekins. This ensures the removal of any cooked egg bits and air bubbles.
- Don’t overmix: Vigorous stirring creates bubbles that become holes in baked custard. Mix gently.
- Consistent ramekin size: Use same-size ramekins so everything bakes evenly. Mixing sizes means some overcook while others undercook.
- Protect from splashes: Cover the baking dish with a foil tent to prevent water from splashing into the custards.
Variations on Classic Crème Brûlée
Once you master the basic technique, try these flavor variations:
- Espresso crème brûlée: Add 2 tablespoons instant espresso powder to warm cream
- Lavender crème brûlée: Steep 1 tablespoon culinary lavender in cream; strain before using
- Chocolate crème brûlée: Whisk 3 oz melted dark chocolate into warm custard
- Citrus crème brûlée: Add lemon or orange zest to cream while heating
For more creative dessert ideas, explore our Ricotta Dessert Recipes collection.
Essential Equipment for Making Crème Brûlée
You don’t need much, but what you use matters:
- Ramekins: 6–8-ounce shallow ceramic ramekins work best. Wider surface area = more caramelized sugar.
- Kitchen torch: A propane or butane torch gives the best control. The broiler works but requires close watching.
- Instant-read thermometer: Takes guesswork out of doneness. Worth the $15 investment.
- Fine-mesh strainer: For silky-smooth custard without lumps or bubbles.
- Large baking dish: Must fit all ramekins with space between for water circulation.
Frequently Asked Questions About Crème Brûlée Doneness
How much should crème brûlée wobble when it’s done?
The center should jiggle slightly when shaken—about the size of a quarter. Edges stay completely firm. A whole surface wobbling means undercooked. No movement at all means overcooked. The jiggle should be contained and subtle, not liquid-like.
What color should properly baked crème brûlée be?
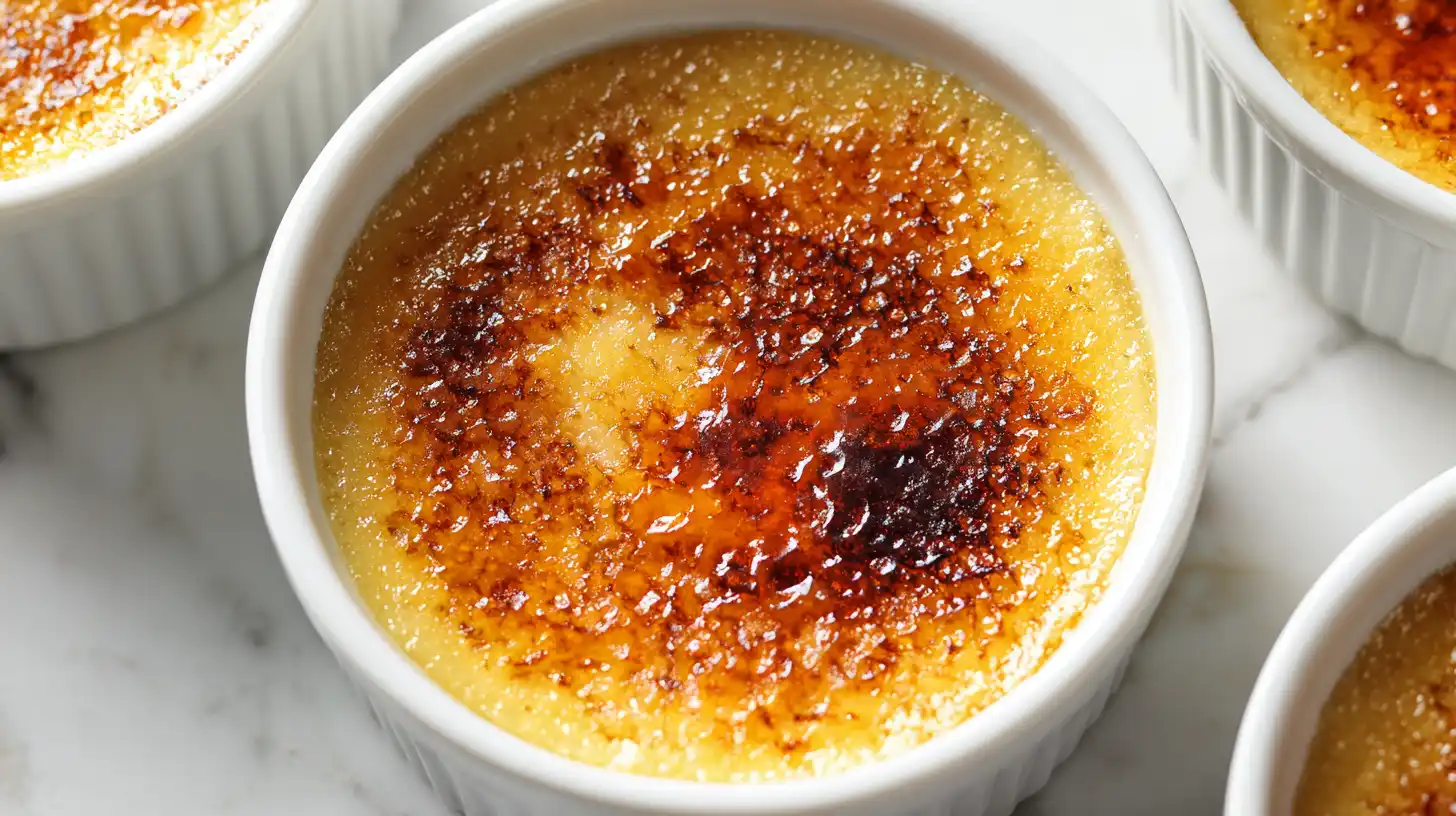
Pale cream to light beige before torching. The surface should be smooth and slightly glossy, never matte or chalky. Dark spots or browning before adding the sugar topping indicates overcooking. The custard itself should look barely different from raw custard—cooking changes texture, not color much.
Does crème brûlée continue cooking after removing from the oven?
Yes, carryover cooking continues for 5-10 minutes after removal. That’s why you pull it when the center still jiggles slightly—it firms up as it cools. Leaving it until completely set in the oven means overcooked custard. Trust the jiggle test, and the cooling process will finish the job.
Can you save undercooked crème brûlée?
Usually yes, if caught before refrigeration. Return to oven in water bath, bake 5-10 more minutes. Check frequently with the jiggle test—checking every 3-4 minutes prevents overcorrection. Once refrigerated and still liquidy, you can try re-baking, but results vary. Better to inspect carefully during initial baking.
Do you need a kitchen torch for crème brûlée?
Not absolutely necessary, but highly recommended. The oven broiler works in a pinch—place ramekins on the highest rack, broil 1-2 minutes, and watch constantly. A torch gives much better control and more even caramelization. Some people use a heated metal spoon pressed onto sugar, but this technique creates uneven results.
How far in advance can you make crème brûlée?
Bake custards up to 3 days ahead. Store covered in refrigerator. Add sugar and torch within 30 minutes of serving—the sugar topping softens over time from custard moisture. For parties, bake 1-2 days early and torch right before guests arrive. Pre-torched crème brûlée loses that satisfying crack.
Final Thoughts on Crème Brûlée Doneness
Knowing when crème brûlée is done comes down to three indicators: the jiggle test (slight wobble in center only), temperature (170-175°F), and visual cues (smooth surface, no cracks). Use a water bath, bake at 300°F, and don’t skip the cooling time. Get those right and you’ll have silky custard with a perfect sugar crust every time.
The hardest part is patience—waiting for it to bake slowly, cool gradually, and chill completely. But that’s what separates okay crème brûlée from restaurant-quality dessert. Take your time, trust the process, and enjoy the crack. For more dessert inspiration, explore our complete Desserts & Baking collection with dozens of tested recipes.